Logo Creation Tutorial
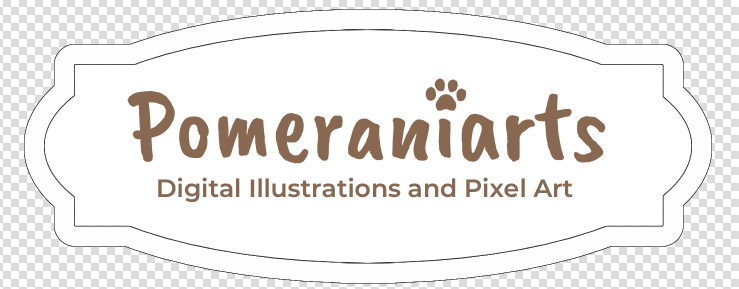
In this tutorial, I will be explaining how I created my logo.

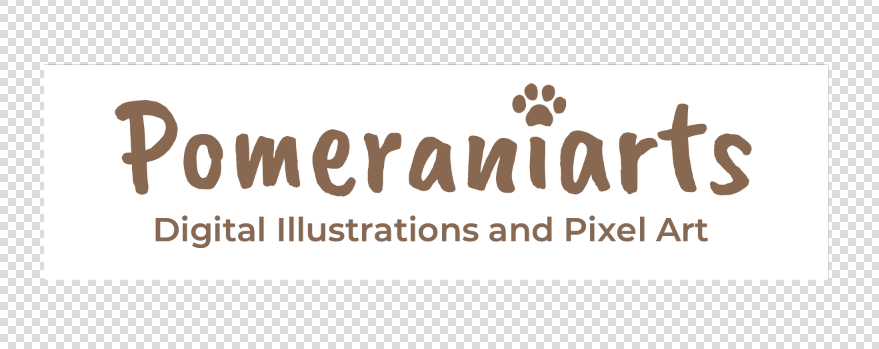
1. First, choose a font that fits the theme of your logo. In my case, I chose a free and open-source font called "Caveat Brush", which is available from Google Fonts.

2. Next, I add another font for the subtitle. I chose a sans-serif font called "Montserrat", also available from Google Fonts.

3. I edited the tittle of the i to resemble a paw print, so that it matches the theme of my logo. This can be drawn by brush tool or by vector.
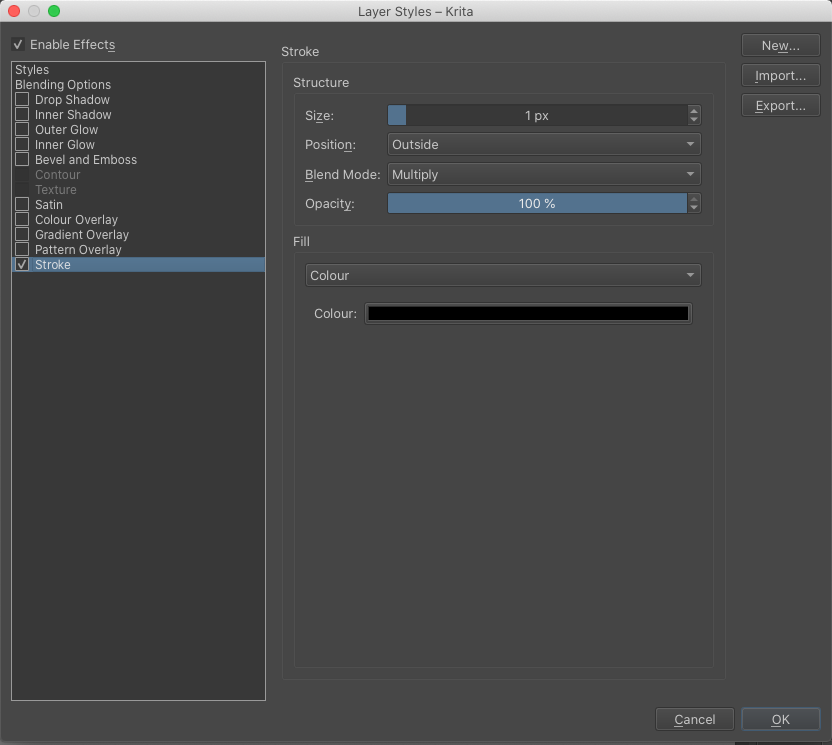
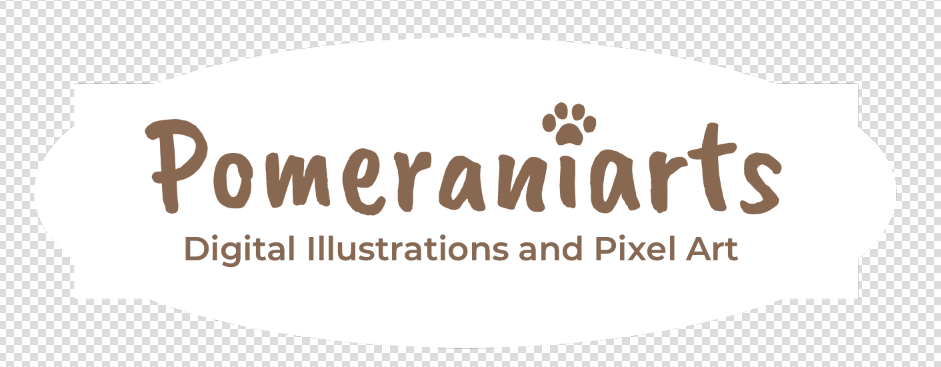
6. Right-click on the layer and select layer styles. Using the following settings, create an outline around the image.
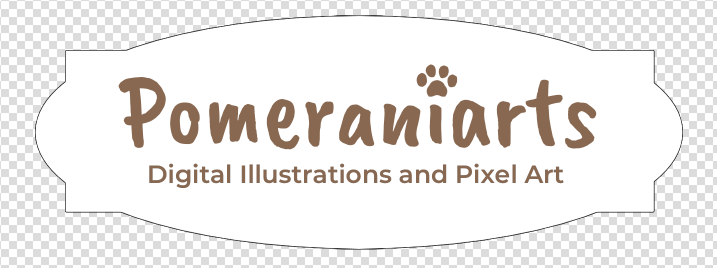
7. This will be the result so far. If you are using Krita, place this layer in a folder and select layer styles for the folder. If you are using another program, simply right-click on the layer and select layer styles again.
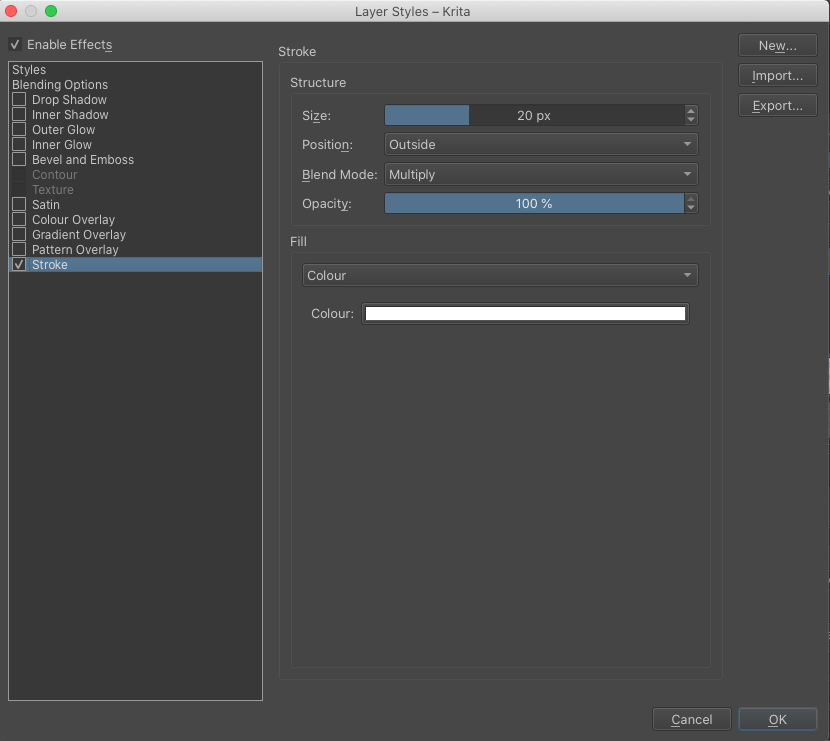
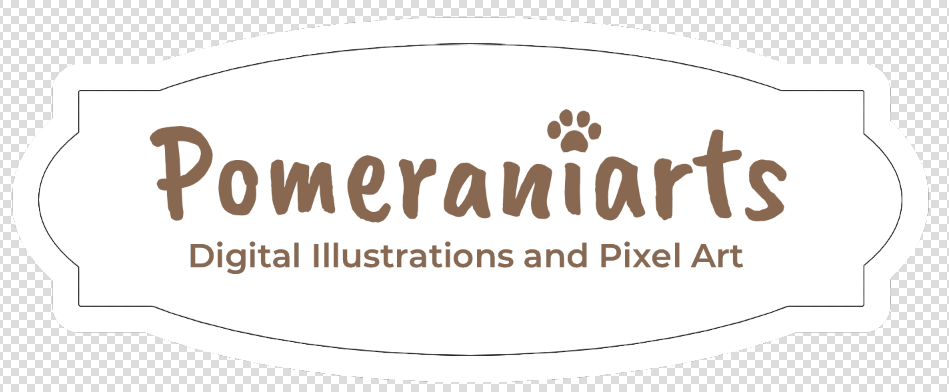
8. Add another stroke to the image using the following settings. This will give a much thicker stroke around the existing image.
